Even in the age of technology, it can be nice to return to tools we used when we were young. In the early stages of design, too, speed is often more useful than function. That’s where paper prototyping comes in.

If you’re just starting with an idea, eliminating bad or weak options will benefit the later stages of your design. Paper prototyping is a popular form of Rapid prototyping, which can help you make quick perspective copies of any idea that you might have. If you have good ideas, this also allows you to improve them and ensure that they aren’t hampered by bad execution.
Table of contents
Why Use Paper Prototyping?
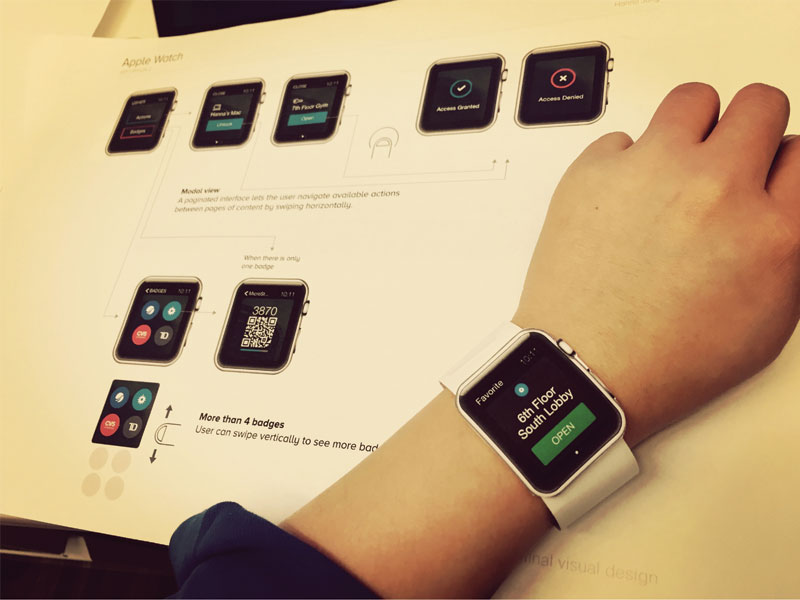 Image Source: Hanna Jung
It’s low cost: Paper prototyping doesn’t involve anything you can’t find in your office. All you need is some paper and pens to get your ideas down. You can also add some other convenient things, like fancier pens or index cards.
It doesn’t consume too many design resources: It is low-cost so that you won’t use too much of anything, including money and labor.
It’s fun: During this stage, you can sit down and explore any ideas you want. You don’t have to think about polishing them or combing out every flaw just yet. It’s just about the ideas. You can also collaborate with other people on the project, so you can share your ideas, too.
It encourages creativity: By exploring ideas, you let them develop in ways that you might not have expected. If you are working as a group, too, you could also have the advantage of multiple disciplines.
Check out: Wireframes Vs Prototypes: What’s The Difference?
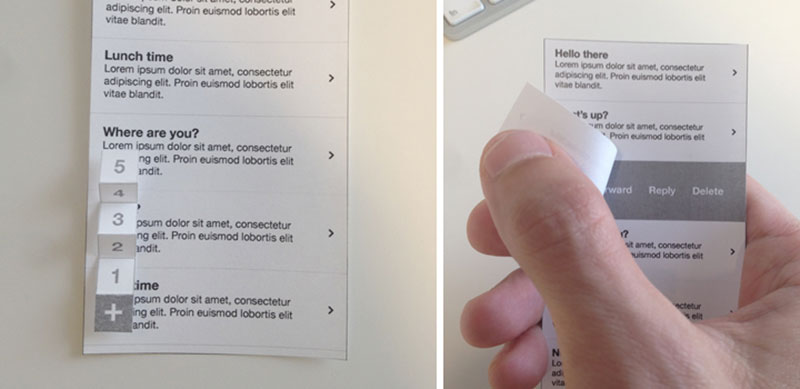 Image source: Tack Mobile
It’s quick: This kind of rapid evaluation allows you to examine ideas without spending too long. You can introduce ideas and then execute any necessary corrections very quickly. People notice usability issues sooner rather than later.
It’s easy: Very few skills are needed for pen-and-paper prototyping since you’re only putting down your ideas on paper, and you don’t need to use any graphic design or coding skills.
It is easy to make notes: With this method, since these are preliminary ideas, you can add notes using post-it notes and stickers.
It’s been done for a long time: Many professionals have used this method over the years. Even when the end result is very complex, it often begins this way.
Also read: All You Need To Know About Rapid Prototyping
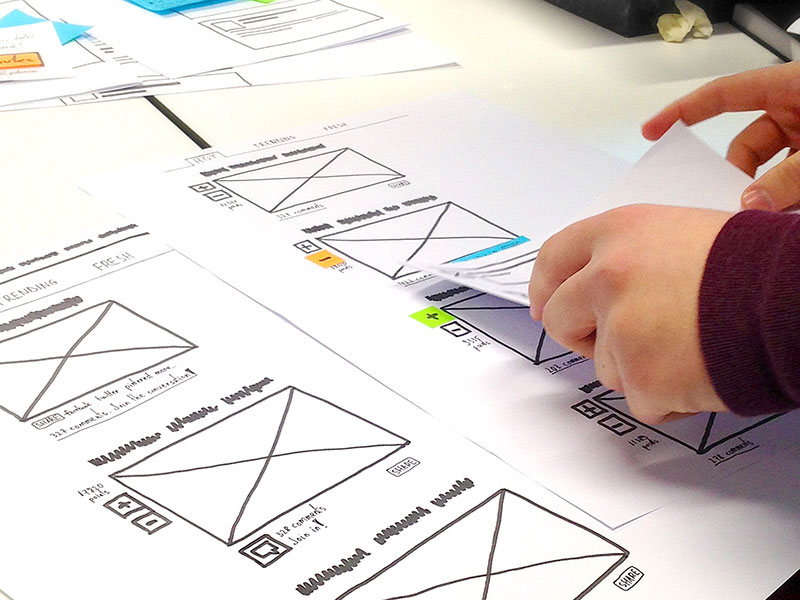 Image source: BBC UXD
There are some limitations with this method, of course. There are a few reasons why this might not be ideal. Mostly, these reasons are technical. You can’t test how technically possible something might be when you’re paper prototyping. It helps to have somebody on your team who’ll be able to pinpoint where you might go wrong.
You also don’t know about the usability of the idea when it comes to things like scrolling. What looks good on paper based prototype might be unwieldy when it’s on-screen and being used. It’s difficult to take scrolling into consideration. It’s also hard to know about download speeds and responses through paper so, again, it can help to have somebody who already has the knowledge.
Learn more about UI design principles and the best UI design practices.
Doing It Properly
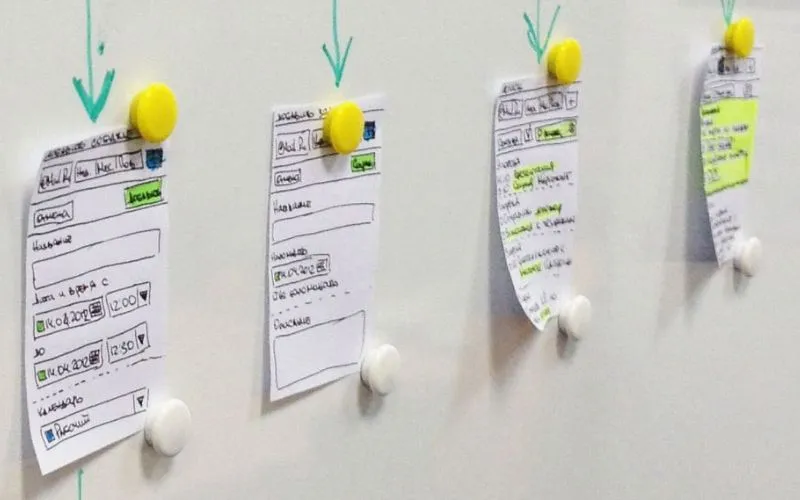
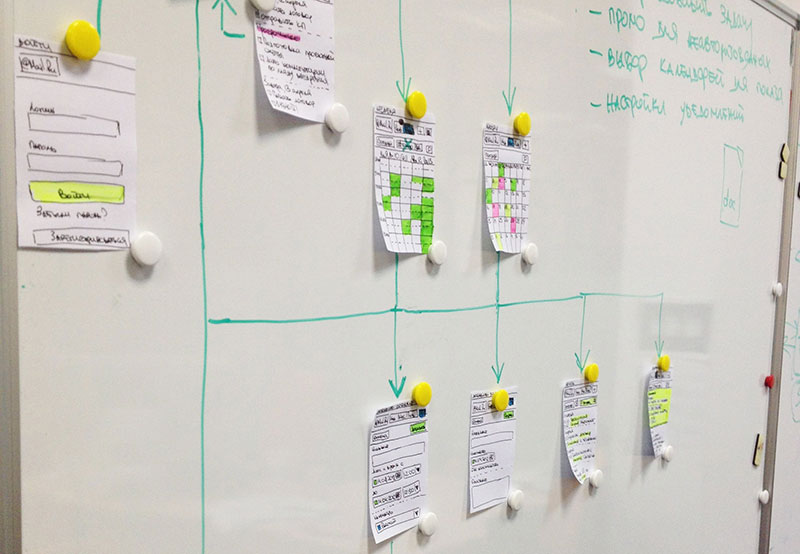 Image source: Mail.Ru
This method has been around for a long time, but there are things that have remained established parts of the process.
To begin with, it helps to sketch out each screen that you plan to use. This helps you really get used to every element of it. You should try to put in every screen at this stage. Another stage is to come up with a scenario to work through.
It’s most helpful if this is both specific and common enough that it could be encountered, regularly. Doing several different scenarios also serves as a kind of rehearsal until it feels like a real machine after every outcome is memorized.
Also read: Prototyping And Its Pitfalls
Paper Prototype Usability Testing
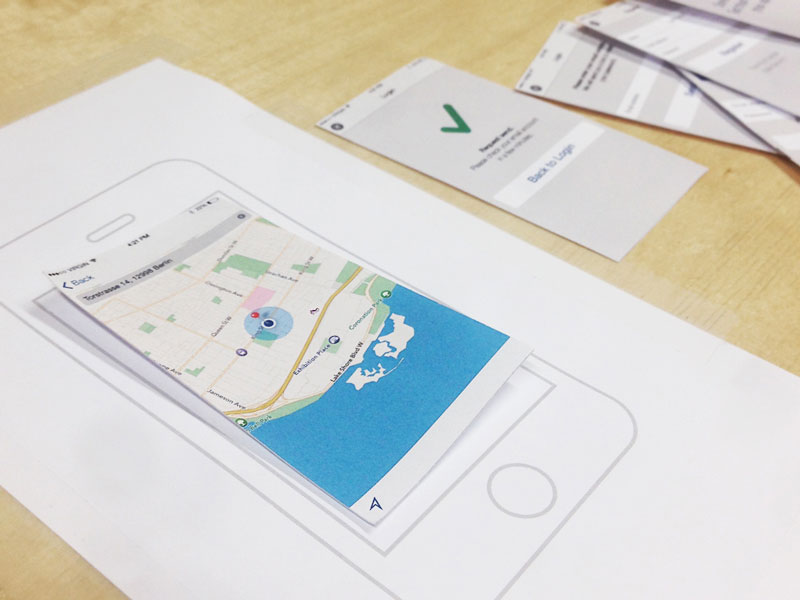 Image Source: Johannes Holl
After this, you can do a usability test. There are several steps when you do this. Your first step should be to find users to help yo. These should be people who aren’t related to the project, itself so that they don’t know anything about it. This way, you know that the responses will be more genuine.
You also need a designated human computer who will be able to replicate all of the processes that the interface can perform. This person should be knowledgeable about how the interface will work even without being able to use a real computer. They will not be able to give the test users any information outside of the processes that the computer will already go through.
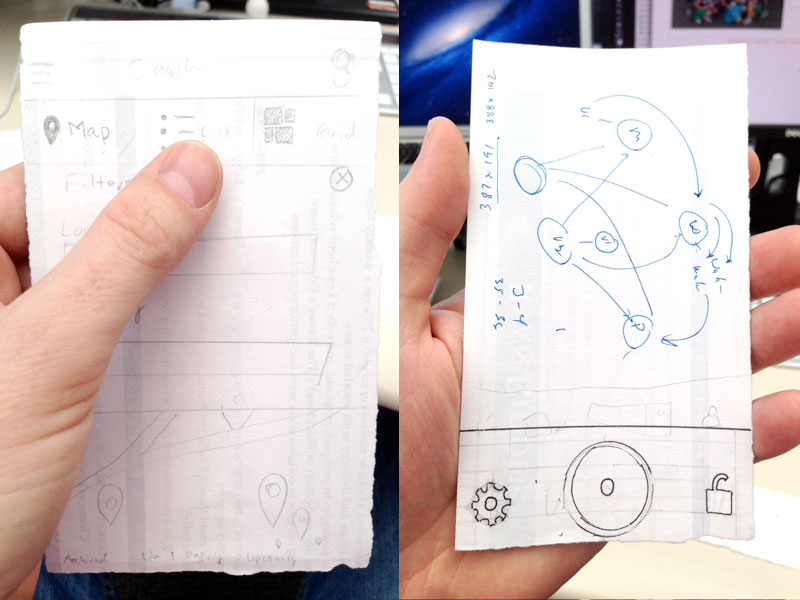 Image Source: Jono Young
You need to record the test so that you can refer back to the results, afterward. This is also useful in paper prototyping if you need to show somebody outside of the test or prove a point when users are having trouble with the interface.
You should also observe the test because you need to be aware of the user’s reactions. They might be telling you that the system is easier to use than it really is, so you need to know about that. You’re testing the interfaces, not the users.
Also read: The Difference Between High And Low Fidelity Prototypes
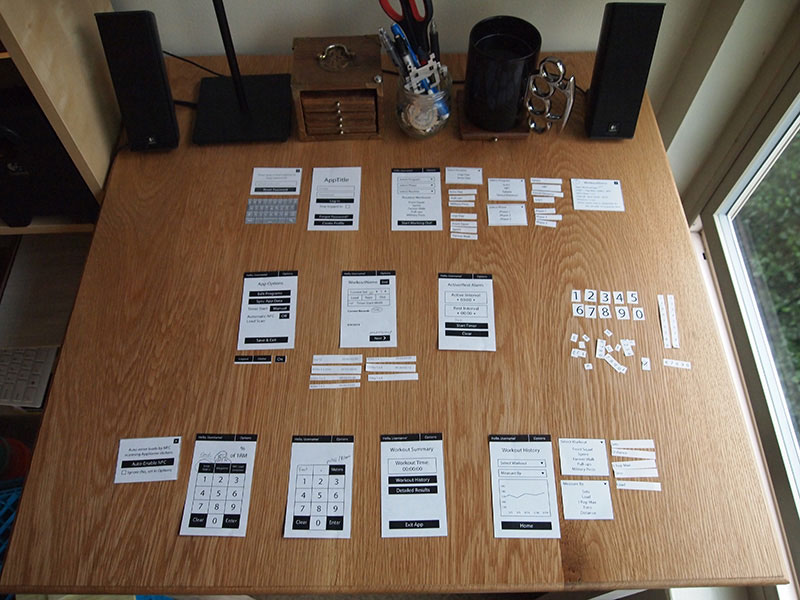 Image source: Ray Tsunoda
When you conduct the test, give your test users some instructions. This will be something that they would do on the website if it was real. If it was a shopping website, for instance, you might instruct them to look for something, put it in their cart and then purchase it.
You want your users to also tell you how they are doing as they use the interface. It is useful to have their spoken feedback as the test progresses.
After the test comes to the debriefing. Ask your users specific questions rather than just general feedback. This means that your data will be more in depth and detailed, which is, of course, useful. Ask them about both positive and negative things and, if anybody appeared to have any trouble, ask them about it.
Check out: Bootstrap Admin Templates For A Responsive Dashboard
Observations
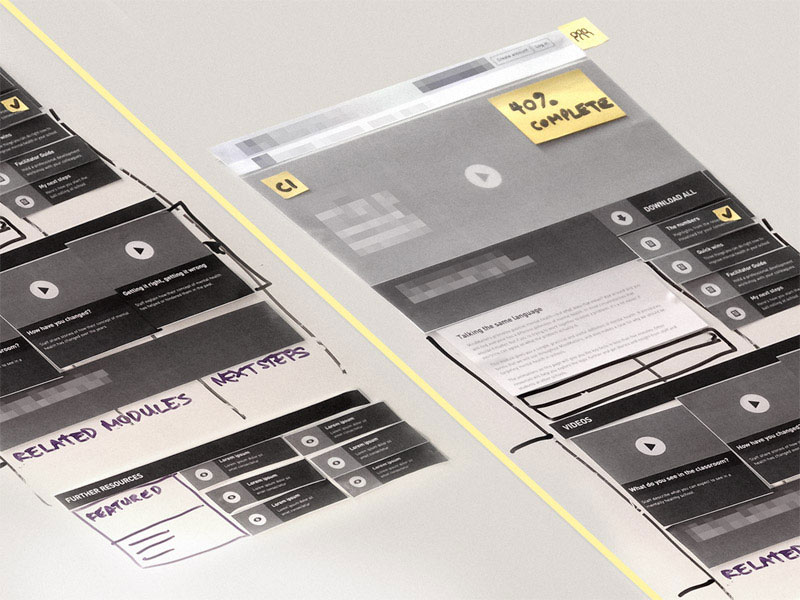 Image source: Sam Daley
Your final step to this type of rapid paper prototyping is to create a list of issues to fix. You have your observation, the recording and the debriefing to look at, here, so that’s a few sources to draw your conclusions from.
This is the point where you need to decide whether you want to move on to the next stage or not. If there are a lot of issues, then you need to decide if you can fix them or not. If there aren’t many, then it might be easier for you to work on fixing them before you move on.
Like this post? Check out more amazing web design content here.