Want to learn how to create an Amazon storefront from scratch? Well, look no further because we’ve got you covered!
Building your storefront on Amazon can seem daunting, but fear not. With our easy-to-follow steps, you’ll be well on your way to setting up shop in no time.

This ultimate guide will walk you through the process of how to make amazon storefront.
So, let’s dive in and learn how to create an Amazon storefront together!
Table of contents
What Are Amazon Storefronts?
Amazon storefronts are creative virtual shops where sellers can display and sell their products on Amazon’s website. It’s like having your own store inside a big shopping mall, but online!
Sellers can create storefronts on Amazon and customize them with their unique brand logo, images, and product descriptions to make them look professional.
Customers can visit these storefronts to see all the products the seller offers in one place, making it easier to shop for the things they want.
In simple words, Amazon storefronts are special spaces where sellers can showcase and sell their products on Amazon’s website.
How To Create An Amazon Storefront
Step 1: Set Up A Brand Registry

To start, make sure your brand is registered on Amazon. If it’s not, apply for the Amazon Brand Registry program.
This program helps protect your brand on Amazon and boosts customer loyalty.
To learn more about the Amazon company, check out the evolution of Amazon.
Step 2: Log In To Seller Central Account
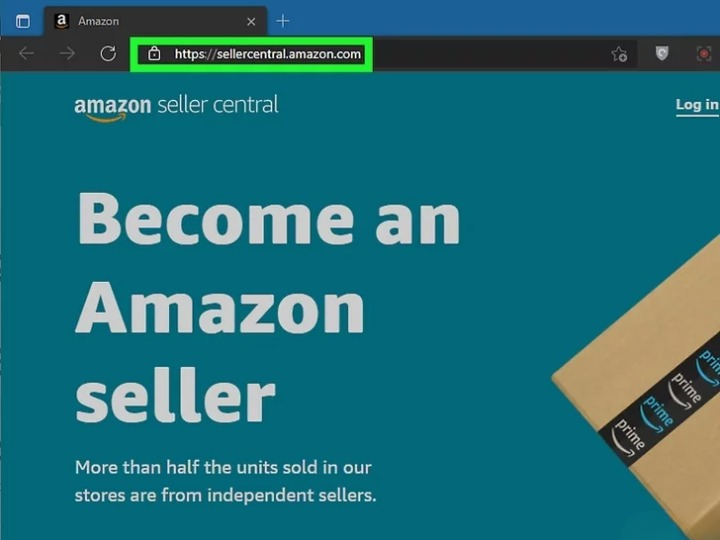
After registering your brand, sign in to your Seller Central account.
Then, go to the “Stores” section. You’ll find a list of eligible brands for setting up an Amazon storefront. Select your brand from the list and click on “Create a Store.”
Check out: Must-Have Elements of a Complete Ecommerce Product Page
Step 3: Create Your Store
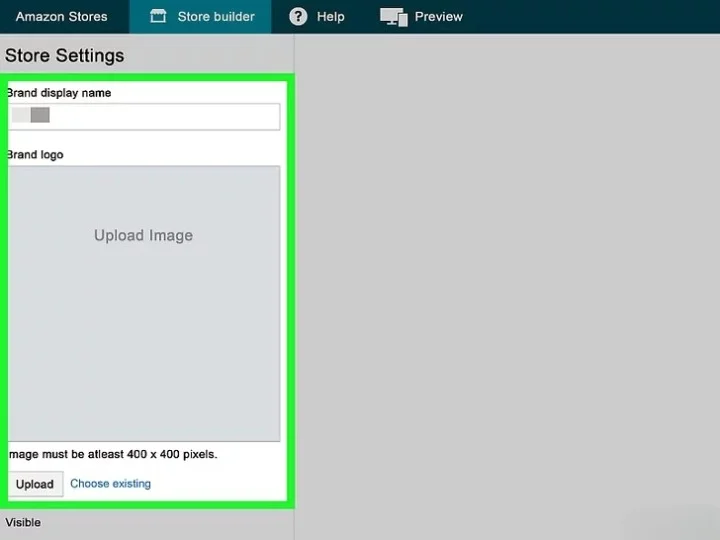
Once you’re on the Store Builder tool page, Amazon will help you set up your Amazon storefront. Begin typing in your brand’s name, avoiding extra phrases like “shop now.”
Also, upload your brand logo, ensuring it’s the recommended size of 400×400 pixels according to Amazon’s guidelines.
Check out: The Evolution of Amazon: Amazon Logo History
Step 4: Add Pages To Your Storefront
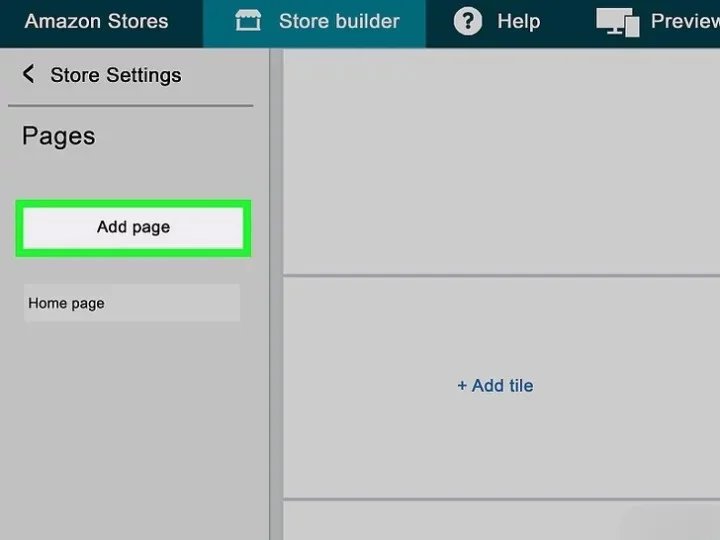
You’ll find this in the top-left corner of the Page Manager. Your storefront can have several pages, each for different kinds of products. For instance, if you’re selling clothes, you can make pages for various genders, age groups, or seasons. You can also make attractive pages to showcase your bestsellers or top-rated items.
The Page Manager displays the structure of the pages you add. You can move pages by dragging them to rearrange them and place them beneath other pages.
To edit a page you’ve made, click on it in the Page Manager.
Check out: How To Build An eCommerce Website Using Woocommerce
Step 5: Add Sections To Your Pages

It’s located in the top-right corner of the Amazon store builder under “Tile Manager”. Each page can have a maximum of 20 sections for various products or contents.
You can label each section and add eye-catching background video tiles, along with 1 product grid tile, 1 gallery tile (for multiple captivating photos of the same item(s)), 1 featured deals tile, and 1 recommended product tile.
Check out: Amazon Logo Meaning : History & Significance
Step 6: Preview Your Storefront
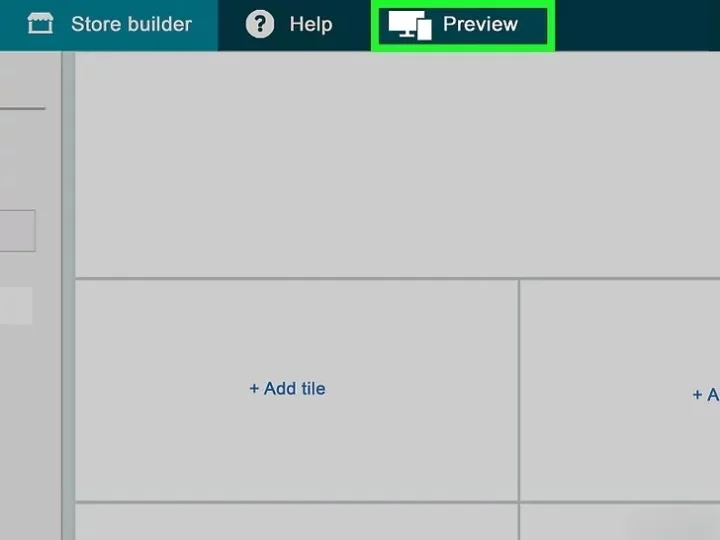
Click the “Preview” tab to switch between desktop and mobile views. It is crucial to ensure that your store looks great on both computers and mobile devices.
Just click this tab at the top while designing your store to see how it appears to mobile users.
While previewing, double-check for any spelling or punctuation mistakes in your storefront. Errors can slow the publishing process, as Amazon must approve all changes during moderation.
Check out: Wordlab – Product Image Generation Tool
Step 7: Submit For Publishing

When you’re done editing, click “Submit to publish.” You’ll find it at the top-right corner of the page.
Submitting sends your store for review, which might take a few days. Once approved, your storefront will be live. While waiting, check the status bar at the top of the store builder tool to see if Amazon requires any adjustments.
They’ll also email you if your store doesn’t pass moderation.
Check out: Amazon Brand Colors – Color Codes For Major Amazon Logos
Final Thoughts On Setting Up An Amazon Storefront
In this guide, we’ve covered the simple steps on how to create Amazon storefront. By following these easy-to-follow instructions, you can create a storefront on Amazon and start selling your products on one of the world’s largest online marketplaces.
You can navigate the process smoothly and efficiently with patience and dedication. Remember to stay organized, pay attention to detail, and don’t hesitate to seek assistance if needed.
Creating an Amazon storefront is an exciting opportunity to showcase your products to millions of potential customers.
So, why wait? Set up Amazon storefront for yourself today and take your business to new heights!
Like this post? Check out more fantastic web design content here.